
Had some days ago the idea to build a pinhole camera. Not 3D print it, this would be too easy, but build it, out of wood. There are a number of quite nice pinhole cameras out there, but I found the price a bit too high. SO I started to read the internets, looking for some ideas, or better, for a blueprint. Unfortunately there’s not much out there. You find a lot of pictures of self built cameras, but almost no plans.
One of the first comments that I have found was that most people do not fail at the pinhole, or the camera body, but in implementing a good film transport. My idea was to go somewhat bigger, so using 120 fillm rolls, so that I can have 6×9 or 6×12 negatives.
Well, after a few hours of putting the body together I spend almost 2 days in trying to get a reliable film transport – so far without success. Part of the problems might have been my tools. I have only a small workshop, without any professional machines. I have some, but none built for precision work.
So I decided to stop the project and read more, and think about a different approach. Lucky me, I found a great website with information how to calculate dimensions, aperture, etc:
http://www.mrpinhole.com/calcpinh.php
It has any information you need to build a camera, but… no blueprints/construction plans.
After some more extreme googling I found as well the page of a guy who built a 8×10″ flat film big size camera: https://kwerfeldein.de/2011/07/16/anleitung-der-bau-einer-8×10-lochkamera/
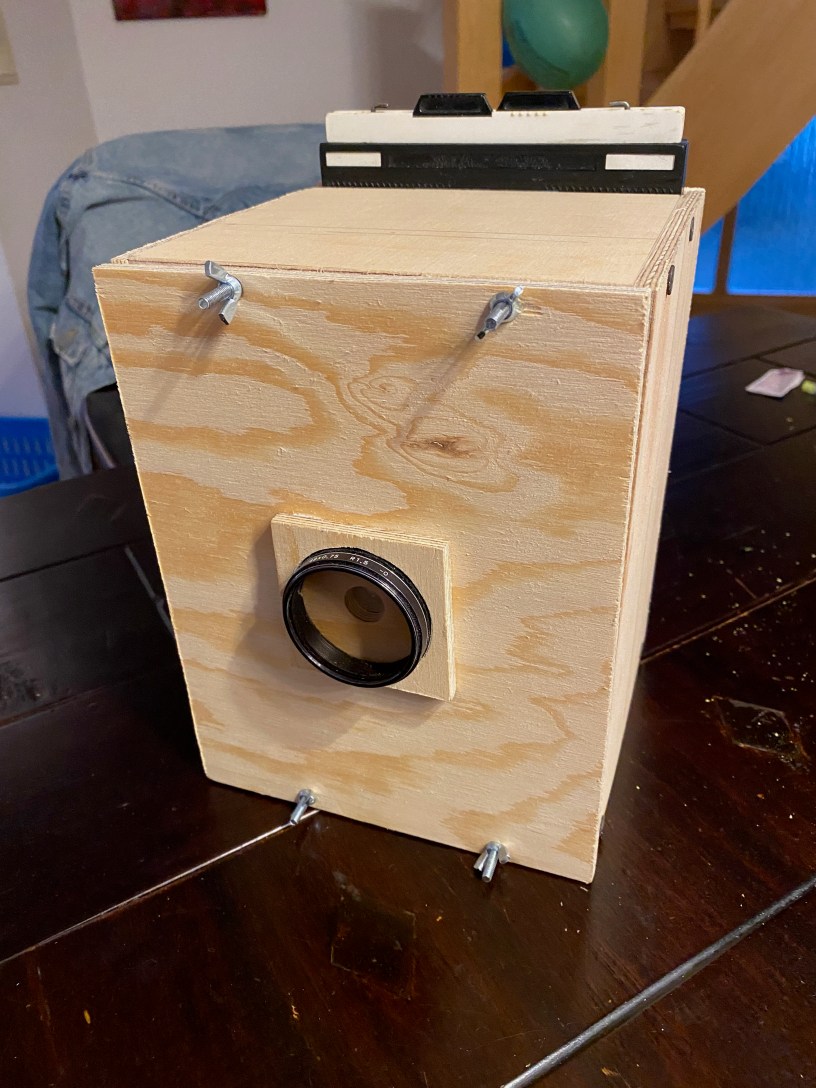
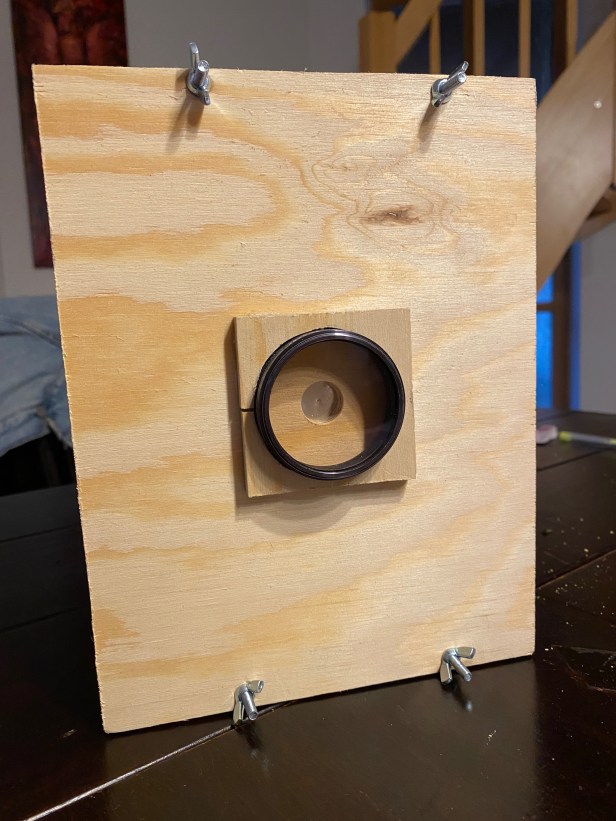
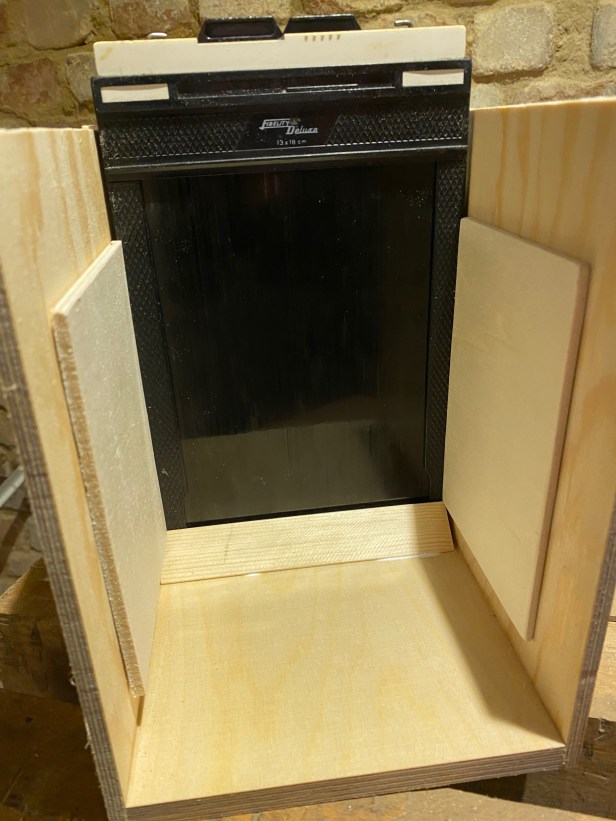
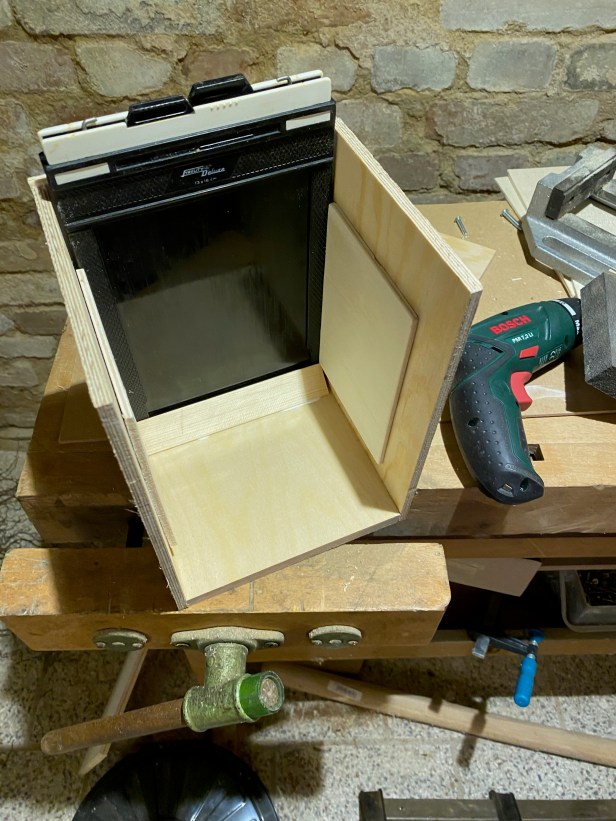
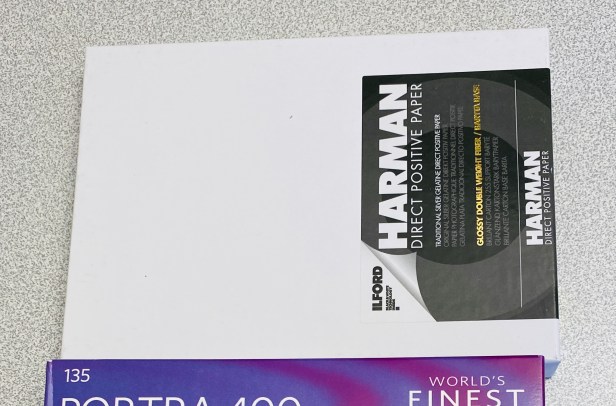
A great idea! Using flat film, or direct positive paper eliminates the need for a film transport… but adds the need for special flat film backs. Thanks god, ebay offers the one or other, in different standardised sizes. So I decided to go with 8×10″ (13x18cm) and with some direct positive paper. Choosing paper was mainly driven by the processing. I have a darkroom with safe red light, for doing prints. Processing the direct positive paper is not different.
So here some pictures of the camera:

The first results were not really encouraging. My calculations told me that I should expose for 8 min… but I was not really sure. So I went for 8, for 15, and the image still turned black. Finally, after 30min of exposure – ok, on a very dark grey, rainy day – I managed to get a picture!
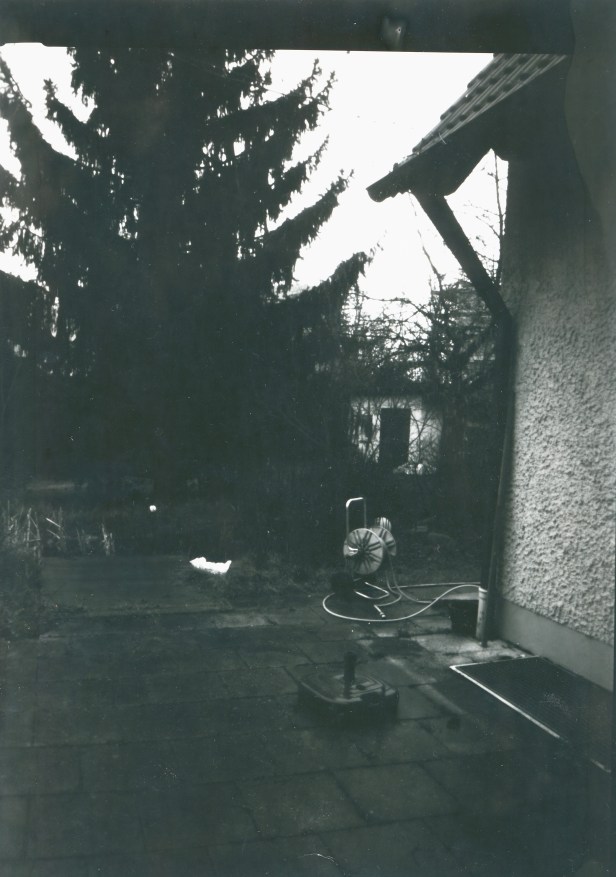
I am proud! Very much looking forward to a nice, sunny day! I am sure the photos will get better. I was thinking to increase the size of the pinhole, in order to reduce f, but this would mean losing the sharpness… and the picture is quite sharp for a pinhole camera (I think).
We’ll see. Next round will be 20, 30, 40min at full sunshine.
